
The joy of indulging in a sweet treat often comes with a side of guilt, especially when it comes to desserts laden with sugar and unhealthy fats. For many, the thought of biting into a rich, chocolate-covered peanut butter cup evokes feelings of indulgence mixed with concern over dietary choices. However, the Guilt-Free Peanut Butter Cups offer a delightful solution that satisfies your cravings while maintaining a healthy profile. This recipe is crafted with natural ingredients like peanut butter, maple syrup, and dark chocolate, making it an excellent choice for those seeking a nutritious yet satisfying dessert option. As we delve into this article, we will explore the health benefits of the ingredients, provide step-by-step instructions, and offer tips for customization, ensuring that you can enjoy these delightful cups without any guilt.
Understanding the Ingredients
To truly appreciate the Guilt-Free Peanut Butter Cups, it’s essential to understand the health benefits of each ingredient involved in their creation. This knowledge not only enhances your culinary experience but also allows you to make informed dietary choices.
Nutritional Benefits of Natural Peanut Butter
Natural peanut butter serves as the cornerstone of this recipe, and for good reason. Unlike its processed counterparts, natural peanut butter contains no added sugars or unhealthy oils, making it a wholesome option. It is rich in protein, which is crucial for muscle repair and growth, and it provides healthy fats that can support heart health. Additionally, natural peanut butter is packed with essential vitamins and minerals such as vitamin E, magnesium, and potassium. These nutrients can contribute to overall wellness and provide sustained energy, making peanut butter a guilt-free choice for satisfying your sweet tooth.
Exploring Maple Syrup and Honey
When it comes to sweetening our Guilt-Free Peanut Butter Cups, we turn to nature’s best: pure maple syrup and honey. Both of these natural sweeteners boast a low glycemic index, meaning they won’t spike your blood sugar levels as quickly as refined sugars. Maple syrup is also rich in antioxidants, which can help combat oxidative stress in the body. Similarly, honey has its own set of health benefits, including antimicrobial properties and potential anti-inflammatory effects. By using these sweeteners, you can enjoy the sweetness without compromising your health.
The Role of Coconut Flour
In this recipe, coconut flour plays a crucial role not only in adding texture but also in enhancing the nutritional profile of the peanut butter cups. This gluten-free flour is high in fiber, which aids in digestion and can promote a feeling of fullness. Moreover, coconut flour absorbs moisture well, allowing for a rich and creamy peanut butter filling that complements the chocolate coating perfectly. Its subtle sweetness also adds to the overall flavor without overwhelming the dish.
The Importance of Dark Chocolate
No peanut butter cup would be complete without chocolate, and for this recipe, dark chocolate is the star. Renowned for its rich flavor and health benefits, dark chocolate is loaded with antioxidants, particularly flavonoids, which can support heart health and improve circulation. Studies have even suggested that dark chocolate can enhance mood and cognitive function, making it a delightful addition to your treat. By choosing dark chocolate with at least 70% cocoa content, you can enjoy a decadent flavor while still reaping its health benefits.
Step-by-Step Instructions for Guilt-Free Peanut Butter Cups
Now that we’ve explored the wonderful ingredients that make up our Guilt-Free Peanut Butter Cups, it’s time to roll up our sleeves and get started on the recipe. Below are the step-by-step instructions to create these delicious treats.
Preparing the Peanut Butter Filling
The first step in creating your Guilt-Free Peanut Butter Cups is to prepare the peanut butter filling. Start by selecting a high-quality natural peanut butter; this will ensure that your cups are both delicious and healthy. In a mixing bowl, combine 1 cup of natural peanut butter with 1/4 cup of maple syrup (or honey, depending on your preference).
Next, add 1/4 cup of coconut flour and a pinch of salt to enhance the flavor. As you mix these ingredients together, aim for a thick and creamy consistency that holds together well. You can use a spatula or a wooden spoon to blend the mixture until smooth. If the mixture feels too sticky, you can add a touch more coconut flour, but be careful not to overdo it. Your goal is to create a filling that is pliable enough to mold but firm enough to hold its shape.
Molding the Peanut Butter Cups
Once your peanut butter filling is ready, it’s time to mold the cups. For this step, you will need a muffin tin or silicone cupcake molds. If you are using a metal muffin tin, lining each cup with parchment paper can make removal easier later on.
Scoop about 1 tablespoon of the peanut butter mixture into each mold. Use your fingers or the back of a spoon to press the mixture down evenly, ensuring it fills the bottom of the mold. Be sure to press down firmly to create a solid base for your cups. If you want a thicker filling, feel free to add more of the mixture, but keep in mind that this will affect the chocolate-to-peanut butter ratio.
Melting the Chocolate
With the peanut butter filling molded, the next step involves melting the dark chocolate. For this, you can use either a double boiler or a microwave. If you opt for the microwave, place your dark chocolate (approximately 1 cup, chopped or in chips) in a microwave-safe bowl. Heat the chocolate in 30-second intervals, stirring in between to ensure even melting and to prevent burning. Continue this process until the chocolate is completely melted and smooth.
Once your chocolate is melted, it’s time to assemble your Guilt-Free Peanut Butter Cups. Pour a layer of melted chocolate over each peanut butter-filled mold, ensuring the filling is completely covered. This layer of chocolate not only adds flavor but also creates a beautiful finish for your cups.
With these initial steps completed, your Guilt-Free Peanut Butter Cups are well on their way to being ready for the fridge. After assembling, you’ll want to let them set in the refrigerator for at least 30 minutes to allow the chocolate to harden.
Stay tuned for the next part of this article, where we will delve deeper into customizing your peanut butter cups and exploring tips to enhance their flavor and texture!
Assembly of the Peanut Butter Cups
Now that you have prepared the delicious peanut butter filling and melted the chocolate, it’s time to assemble your guilt-free peanut butter cups. Start by ensuring you have your silicone molds or mini cupcake liners ready. This is crucial as they will shape your cups and help in easy removal once set.
1. Pouring the Chocolate: Begin by using a spoon or a small ladle to pour a thin layer of melted chocolate into each mold. Aim for about one-third full. The melted chocolate should evenly coat the bottom of each cup to create a solid base. This layer not only adds to the taste but also provides a barrier, ensuring the peanut butter filling remains intact without leaking.
2. Creating the Peanut Butter Layer: Next, take a teaspoon of your prepared peanut butter filling and place it gently on top of the chocolate layer. Be careful not to let it touch the sides of the mold, as this could lead to messy cups. The peanut butter layer should be about half the thickness of the chocolate layer—this ensures a balanced flavor in each bite.
3. Finishing with Chocolate: After adding the peanut butter, it’s time to seal the cups. Pour another layer of the melted chocolate over the peanut butter filling, ensuring it covers the filling completely. The goal is to have an even layer that can encase the peanut butter. Tap the mold lightly on the counter to help the chocolate settle and remove any air bubbles, which is vital for achieving a smooth surface.
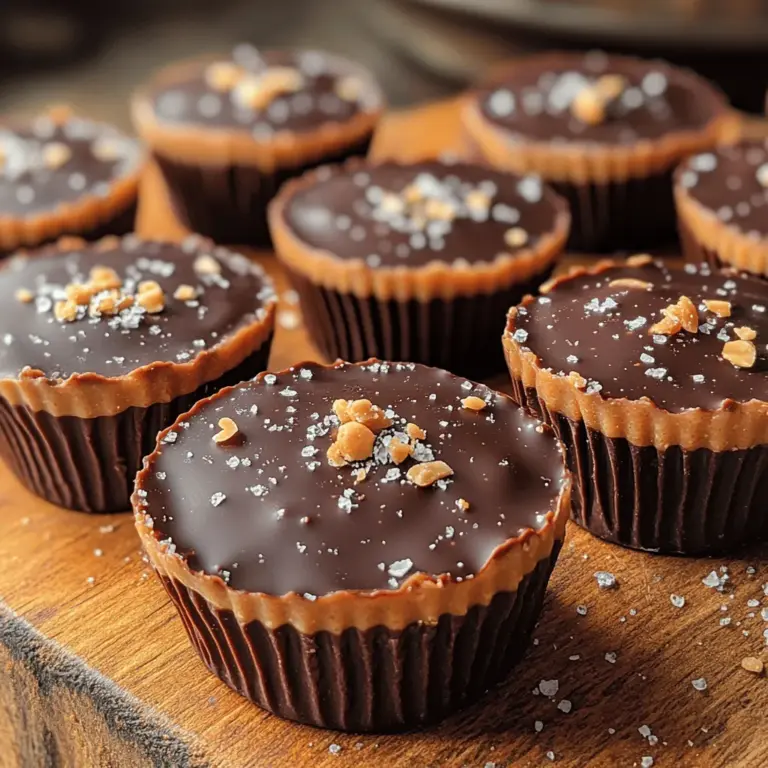
4. Final Touch: If desired, you can sprinkle a pinch of sea salt on top of the melted chocolate before it sets, enhancing the flavor with a delightful contrast. This step is optional, but it can elevate your peanut butter cups to a whole new level.
Chilling and Setting
The chilling process is a pivotal step in making your peanut butter cups a success. Once you have assembled your cups, place them in the refrigerator for at least 30 minutes, or until the chocolate has fully hardened. This chilling not only solidifies the chocolate but also helps the flavors meld together, creating a delightful textural contrast between the creamy peanut butter and the firm chocolate shell.
For those who are eager to enjoy their treats sooner, you can also place the molds in the freezer for about 15-20 minutes. However, be cautious not to leave them too long, as overly cold chocolate can become brittle.
Serving Suggestions and Customization Options
Creative Serving Ideas
When it comes to serving your guilt-free peanut butter cups, the possibilities are endless. Here are a few creative ideas to elevate your presentation:
– Dessert Platter: Arrange the peanut butter cups on a beautiful dessert platter alongside fresh fruits like strawberries, bananas, or apple slices. The sweetness of the fruit complements the rich flavors of the chocolate and peanut butter perfectly.
– With a Dip: Serve the cups alongside a small bowl of melted dark chocolate or a yogurt dip. This adds an interactive element to the dessert, allowing guests to dip their cups for an extra layer of indulgence.
– Coffee Pairing: These peanut butter cups pair wonderfully with a cup of coffee or a rich mocha. The robust flavors of coffee enhance the chocolate and peanut butter combination, making for a delightful afternoon treat.
Customization Options for Toppings
To take your peanut butter cups to the next level, consider experimenting with different toppings. Here are some options to enhance the flavor profile:
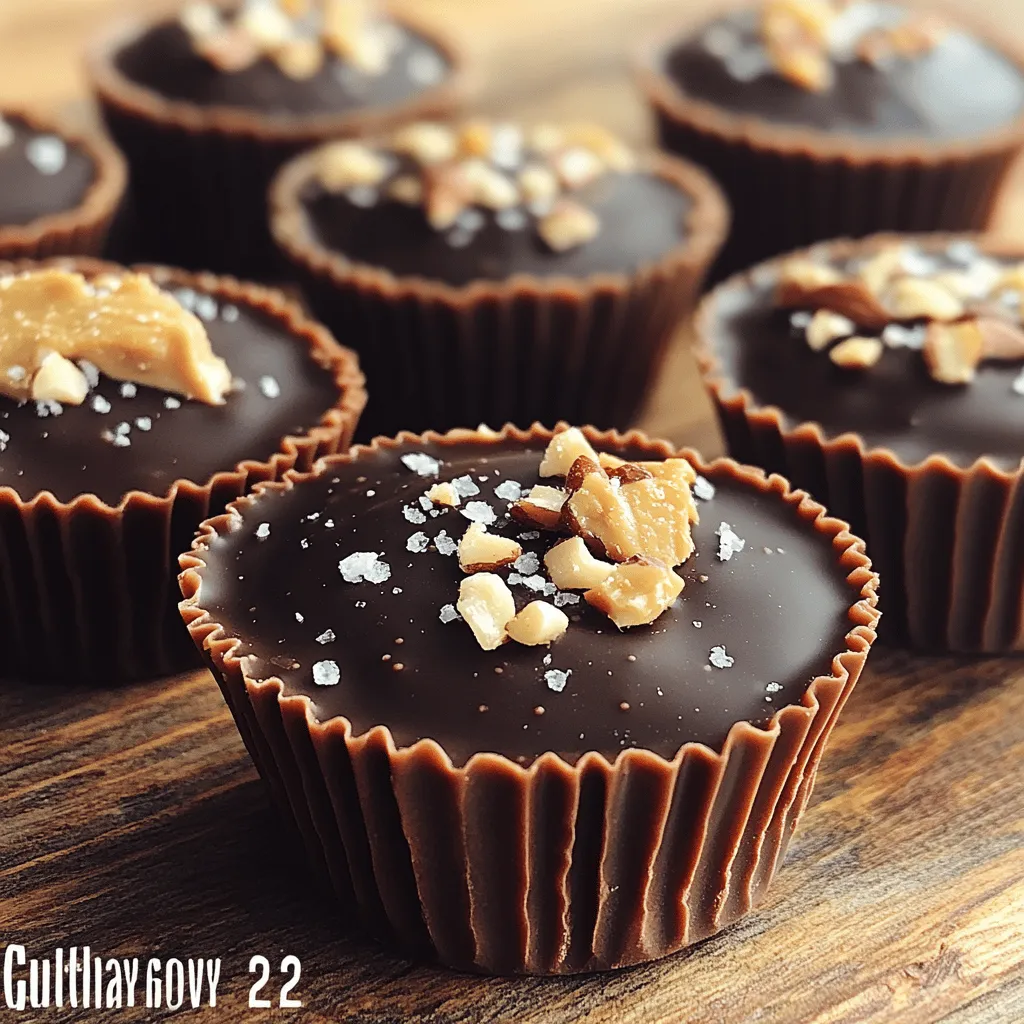
– Sea Salt Flakes: A sprinkle of flaky sea salt on top of the chocolate layer adds a savory contrast that amplifies the sweetness of the cup.
– Crushed Nuts: Adding crushed peanuts, almonds, or walnuts on top before the chocolate sets introduces a delightful crunch.
– Shredded Coconut: For a tropical twist, sprinkle some unsweetened shredded coconut over the melted chocolate. This not only adds a chewy texture but also a rich flavor that pairs beautifully with peanut butter.
– Drizzle: Consider drizzling melted white chocolate or a nut butter over the top for an elegant finishing touch.
Adapting the Recipe for Dietary Needs
One of the best aspects of this recipe is its adaptability, making it suitable for various dietary preferences:
– Vegan Option: To make these peanut butter cups vegan, simply use dairy-free chocolate chips or a chocolate bar. Ensure that your peanut butter is also free from any animal products.
– Sugar-Free Version: For those watching their sugar intake, consider using sugar-free chocolate chips and a natural sweetener like stevia or erythritol in the peanut butter filling. This adjustment allows you to maintain the indulgent flavor while keeping it low in sugar.
Storage and Shelf Life
Proper Storage Techniques
To ensure your guilt-free peanut butter cups stay fresh and delicious, proper storage is essential. Place them in an airtight container to prevent moisture and odors from affecting their flavor. If you have made a large batch, consider separating layers with parchment paper to prevent them from sticking together.
– Refrigeration: Store the peanut butter cups in the refrigerator if you plan to consume them within a week. The cool environment maintains their firmness and prolongs their shelf life.
– Freezing: For longer storage, these cups can be frozen. Just ensure they are in an airtight container, and label with the date. Frozen peanut butter cups can last up to three months, making them the perfect grab-and-go snack.
Understanding Shelf Life
When stored properly, guilt-free peanut butter cups can last in the refrigerator for about 7-10 days. If frozen, they can maintain their quality for up to three months. Always check for any signs of spoilage, such as off smells or discoloration, before enjoying them.
Conclusion
Guilt-Free Peanut Butter Cups are a perfect blend of indulgence and health, allowing you to enjoy a sweet treat without compromising your dietary goals. With their rich flavor and satisfying texture, these cups can be easily made at home with simple, natural ingredients. Whether you’re looking for a post-workout snack, a dessert for a gathering, or just a little pick-me-up, this recipe checks all the boxes. Embrace the joy of guilt-free indulgence and enjoy the delightful taste of homemade peanut butter cups that nourish both body and soul.
So why not gather your ingredients, follow these simple steps, and treat yourself to this delightful, healthier version of a classic favorite? Your taste buds will thank you!
