
Nutty Delight: Crunchy Peanut Butter Rice Bars Recipe
Introduction
In a world where convenience often trumps nutrition, homemade snacks have emerged as a beacon of hope for health-conscious individuals. The growing popularity of no-bake energy bars reflects a shift towards wholesome ingredients and easy preparation. Among these delightful options, the Nutty Delight Crunchy Peanut Butter Rice Bars stand out as a simple yet satisfying treat ideal for quick energy boosts. Whether you are a busy professional looking for a nutritious pick-me-up, a parent seeking healthy snacks for your children, or simply someone who appreciates a delicious homemade treat, this recipe ticks all the boxes.
What makes these bars particularly appealing is their versatility. With a few basic ingredients, you can customize them to suit your taste preferences and dietary needs. From the choice of sweeteners to the addition of nuts and chocolate, the possibilities are endless. This recipe not only satisfies cravings but also provides a nourishing option that can be enjoyed any time of the day.
Understanding the Ingredients
To fully appreciate the Nutty Delight Crunchy Peanut Butter Rice Bars, it’s essential to understand the key ingredients that contribute to both their flavor and nutritional value. Let’s delve into the components that make this recipe a standout choice for health enthusiasts.
– The Role of Puffed Rice Cereal
Puffed rice cereal serves as the foundation of these bars, providing a light and crunchy texture. This ingredient is a low-calorie option that adds bulk without compromising on flavor. Rich in fiber, puffed rice can aid digestion and keep you feeling full longer, making it an excellent base for a snack aimed at sustaining energy levels.
– Creamy Peanut Butter: A Protein Powerhouse
Peanut butter is not just a beloved spread; it is also a nutritional powerhouse. Packed with protein, healthy fats, and essential vitamins, it offers a satisfying and energizing boost. The protein content in peanut butter supports muscle repair and growth, while the healthy fats promote heart health. However, it is important to be mindful of allergens, as peanut butter is a common allergen. For those with peanut allergies, alternatives such as almond or sunflower seed butter can be utilized without sacrificing flavor or nutrition.
– Natural Sweeteners: Honey vs. Maple Syrup
Sweetness is a key component of any treat, and in this recipe, you have the option to choose between honey and maple syrup as natural sweeteners. Honey is known for its antibacterial properties and quick energy release, while maple syrup is rich in antioxidants and minerals, including manganese and zinc. Both options provide a delightful sweetness without the refined sugars found in many store-bought snacks. The choice between the two often comes down to personal preference and dietary restrictions, but either way, you’re opting for a healthier alternative.
– Brown Sugar: Flavor and Moisture
Adding brown sugar to the mix enhances the overall flavor profile of the bars. This ingredient not only contributes sweetness but also imparts a rich, caramel-like taste that complements the nutty peanut butter. Additionally, brown sugar brings moisture to the recipe, ensuring the bars remain chewy and less likely to crumble. The combination of brown sugar with the other ingredients creates a harmonious balance that elevates the treat beyond the ordinary.
– The Crunch Factor: Nuts and Chocolate Chips
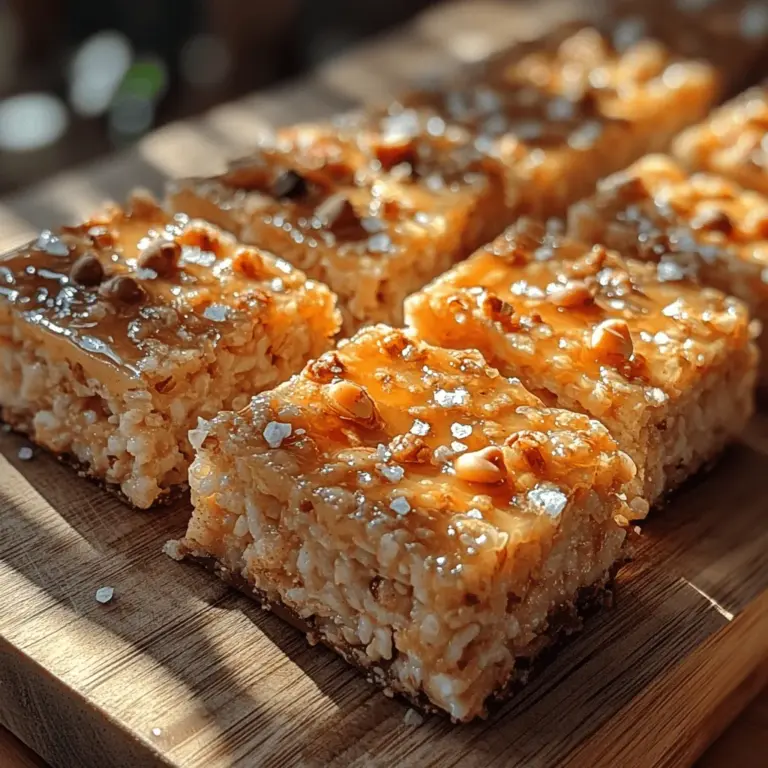
To take the Nutty Delight Crunchy Peanut Butter Rice Bars to the next level, the addition of chopped nuts and mini chocolate chips is essential. Nuts, such as almonds or walnuts, provide extra crunch and are packed with healthy fats, fiber, and protein. They also add a delightful contrast in texture that makes each bite satisfying. Mini chocolate chips, on the other hand, introduce a hint of sweetness and indulgence, appealing to the chocolate lovers among us. Together, these ingredients enhance the flavor, texture, and nutritional profile of the bars, making them a well-rounded snack.
Step-by-Step Instructions
Now that we’ve explored the ingredients that make these bars both nutritious and delicious, let’s dive into the preparation of the Nutty Delight Crunchy Peanut Butter Rice Bars. With clear and simple instructions, you’ll find that creating this treat is not only easy but also fun.
– Preparing the Baking Dish
Before you begin mixing the ingredients, it’s crucial to prepare your baking dish correctly. Start by selecting an 8×8-inch or 9×9-inch square pan, which is ideal for achieving the perfect thickness for your bars. Line the bottom and sides of the dish with parchment paper, leaving a slight overhang on the edges. This overhang will make it easier to lift the bars out of the pan once they have set. For added assurance against sticking, lightly grease the parchment paper with a bit of cooking spray or a thin layer of oil. This step ensures that your Nutty Delight Crunchy Peanut Butter Rice Bars will release easily, allowing for clean cuts and a beautiful presentation.
With the baking dish prepared, you are now ready to move on to the mixing and combining of your flavorful ingredients, setting the stage for a deliciously satisfying snack that is sure to please.
Melting the Wet Ingredients
The first step in creating your Nutty Delight Crunchy Peanut Butter Rice Bars is melting the wet ingredients. For this recipe, we will combine creamy peanut butter and honey (or maple syrup) in a saucepan over low heat. The key to achieving a smooth mixture lies in maintaining low heat and constant stirring. High heat can cause the mixture to scorch and become unpalatable, while inconsistent stirring may lead to lumps.
Start by adding the peanut butter to the saucepan. As it begins to warm, slowly pour in the honey or maple syrup. Stir continuously with a spatula or wooden spoon, making sure to scrape down the sides of the pan. This will ensure that all ingredients are thoroughly combined and heated evenly. It typically takes about 5-7 minutes for the mixture to become smooth and well-blended. Remember, patience is vital here; rushing the process can lead to a gritty or burnt texture.
Adding Flavor: Vanilla and Salt
Once your wet ingredients are melted and well-combined, it’s time to enhance the flavor profile with vanilla extract and a pinch of salt. Vanilla extract not only adds a depth of flavor but also complements the nuttiness of the peanut butter. It’s a simple addition that can elevate your bars from good to great.
Salt, on the other hand, is essential for balancing sweetness and enhancing overall flavor. A small amount—about 1/4 teaspoon—will suffice. This tiny addition can help to bring out the rich, nutty flavor of the peanut butter, making each bite more satisfying. Stir the vanilla and salt into the melted mixture until fully incorporated, ensuring an even distribution throughout.
Mixing in Puffed Rice
With your wet mixture ready, the next step is to mix in the puffed rice cereal. This ingredient is what gives your bars that delightful crunch. To avoid crushing the puffed rice—thereby losing its airy texture—add it gradually to the wet mixture.
Using a large mixing bowl, pour the melted peanut butter mixture over the puffed rice. Gently fold the mixture together using a spatula or a large spoon, making sure to coat each piece of puffed rice without applying too much pressure. The goal is to maintain the puffed rice’s lightness while ensuring that every bit is covered in the delicious peanut butter mixture. This step is crucial for the texture of the final product, as it will help retain that crunchiness that makes these bars so delightful.
Incorporating Nuts and Chocolate
To take your Nutty Delight bars to the next level, consider adding nuts and chocolate chips. Chopped almonds, walnuts, or peanuts can provide additional crunch and healthy fats, while chocolate chips add a touch of sweetness and indulgence.
After folding in the puffed rice, sprinkle your chosen nuts and chocolate chips over the mixture. Gently fold them into the mixture, ensuring even distribution throughout. This will provide a balanced taste in every bite, with each bar featuring a delightful combination of flavors and textures.
Pressing Mixture into the Pan
Once everything is mixed thoroughly, it’s time to transfer the mixture into a prepared baking pan. Line an 8×8-inch or 9×9-inch pan with parchment paper, leaving some overhang for easy removal later. The pressing process is crucial for achieving sturdy bars that hold together well.
Using a spatula, spread the mixture evenly in the pan. To compact it, use your hands—dampening them slightly can help prevent sticking—or another flat object like the bottom of a measuring cup. Press down firmly but gently to create a uniform layer. This step will ensure that your bars are dense enough to hold their shape once cooled, preventing them from crumbling apart.
Chilling for Best Results
Chilling the mixture is an important step in the preparation of your Nutty Delight Crunchy Peanut Butter Rice Bars. Once you have pressed the mixture into the pan, cover it with plastic wrap or foil and place it in the refrigerator for at least 2 hours. This chilling period allows the bars to firm up and helps the flavors meld together, resulting in a more cohesive texture.
Avoid skipping this step, as the bars will be too soft to cut cleanly if not adequately chilled. Once chilled, the bars will slice more easily, and you’ll be rewarded with a delightful, crunchy texture that holds together beautifully.
Cutting the Bars
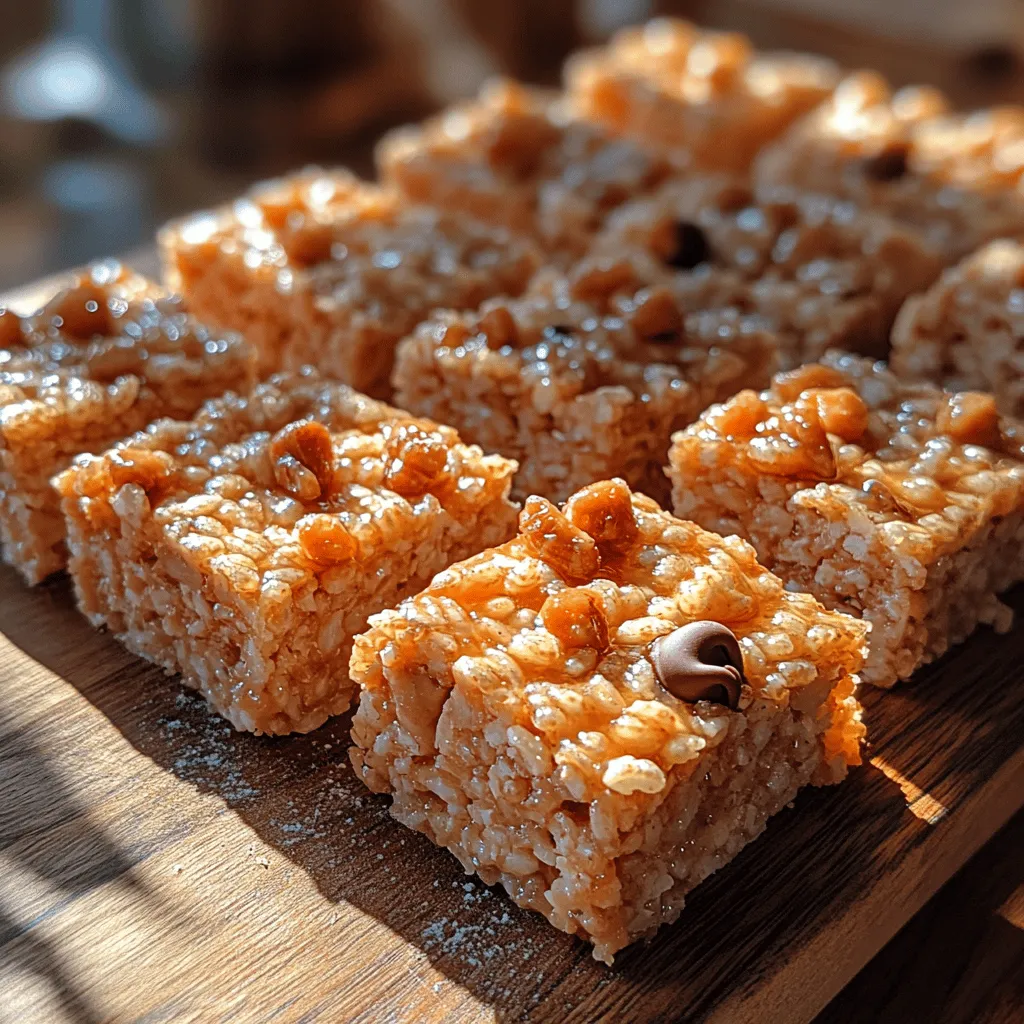
After your Nutty Delight bars have chilled and set, it’s time to cut them into squares or rectangles. For clean cuts, use a sharp knife and run it under hot water before slicing. Wipe the knife dry before making your cuts, which will help prevent the mixture from sticking to the blade and create a cleaner edge.
You can cut the bars into larger pieces for a more substantial snack or smaller squares for a bite-sized treat. Once cut, store the bars in an airtight container at room temperature for up to a week, or in the refrigerator for longer freshness. If you prefer a firmer texture, refrigerating them is the way to go.
Nutritional Information
Understanding the nutritional content of your homemade Nutty Delight Crunchy Peanut Butter Rice Bars can help you make informed dietary choices. Each bar contains approximately:
– Calories: 150-200
– Protein: 4-6 grams
– Fats: 8-10 grams
– Carbohydrates: 20-25 grams
These bars are a great source of energy, providing a healthy balance of protein, fats, and carbohydrates. For those with dietary restrictions, this recipe can easily be adapted to be gluten-free by selecting certified gluten-free puffed rice. Additionally, using maple syrup instead of honey makes it suitable for vegan diets. This versatility ensures that everyone can enjoy these delicious bars.
Serving Suggestions
Nutty Delight Crunchy Peanut Butter Rice Bars are incredibly versatile and can be enjoyed in various ways. Here are some serving suggestions to incorporate them into your daily routine:
1. Breakfast Option: Pair a bar with a piece of fruit for a quick and nutritious breakfast on the go. The combination of protein and carbohydrates will keep you fueled throughout the morning.
2. Post-Workout Snack: These bars are an excellent choice after a workout, providing the necessary carbohydrates and protein to aid in recovery. Enjoy them with a protein shake for a complete refuel.
3. Lunchbox Treat: Cut the bars into smaller squares and pack them into lunchboxes for a healthy treat that kids will love. They are a great alternative to sugary snacks and will keep energy levels up during the school day.
4. On-the-Go Snack: Keep a few bars in your bag for a convenient snack while running errands or traveling. They are easy to store and satisfying, making them perfect for busy lifestyles.
Conclusion
Making Nutty Delight Crunchy Peanut Butter Rice Bars at home is a rewarding and straightforward process that yields delicious results. With their perfect blend of crunchy, nutty flavors and satisfying texture, these bars are not only easy to prepare but also a healthier alternative to store-bought snacks.
By following this recipe, you can enjoy a delightful treat that aligns with a mindful eating approach. They are packed with wholesome ingredients that provide both nutrition and flavor without compromising on taste. So why not give this recipe a try? Whip up a batch of these homemade bars, and indulge in the satisfaction of a nutritious snack that you can feel good about enjoying. Whether for breakfast, a post-workout treat, or a lunchbox addition, Nutty Delight bars are sure to become a staple in your kitchen!
